~Gina
The idea for this piece came from a segment I saw on Antiques Roadshow some time ago. This guy brought a round table in that was made of six curved parts. It turned out that each part had its own set of legs and could, therefore be deconstructed and rearranged into different configurations. I loved it instantly and drew a sketch to save for later. I made my circle and segments from foam core using a circle cutter to make the cuts.
At first I planned to make this with a top and bottom piece suspended with wooden dowels. I made a couple of segments to try out the concept and played with different origami objects to place inside.
Here are some of the parts and tools I used at this stage to create the interior space. After I lined up the two segments I didn't like the open feeling of the piece, but wanted it to have thickness. I decided to undo this work but save the cut pieces. I ended up cutting out 3 circles and segmenting them to make the final circle form.
This is a picture of the open space design with an origami butterfly suspended in the middle on a pin. I ended up changing the concept entirely.
Here is one segment wrapped in Japanese paper the meld the three pieces of foam core together. I ended up painting the sides the match the colors of the top. See the next few pictures.
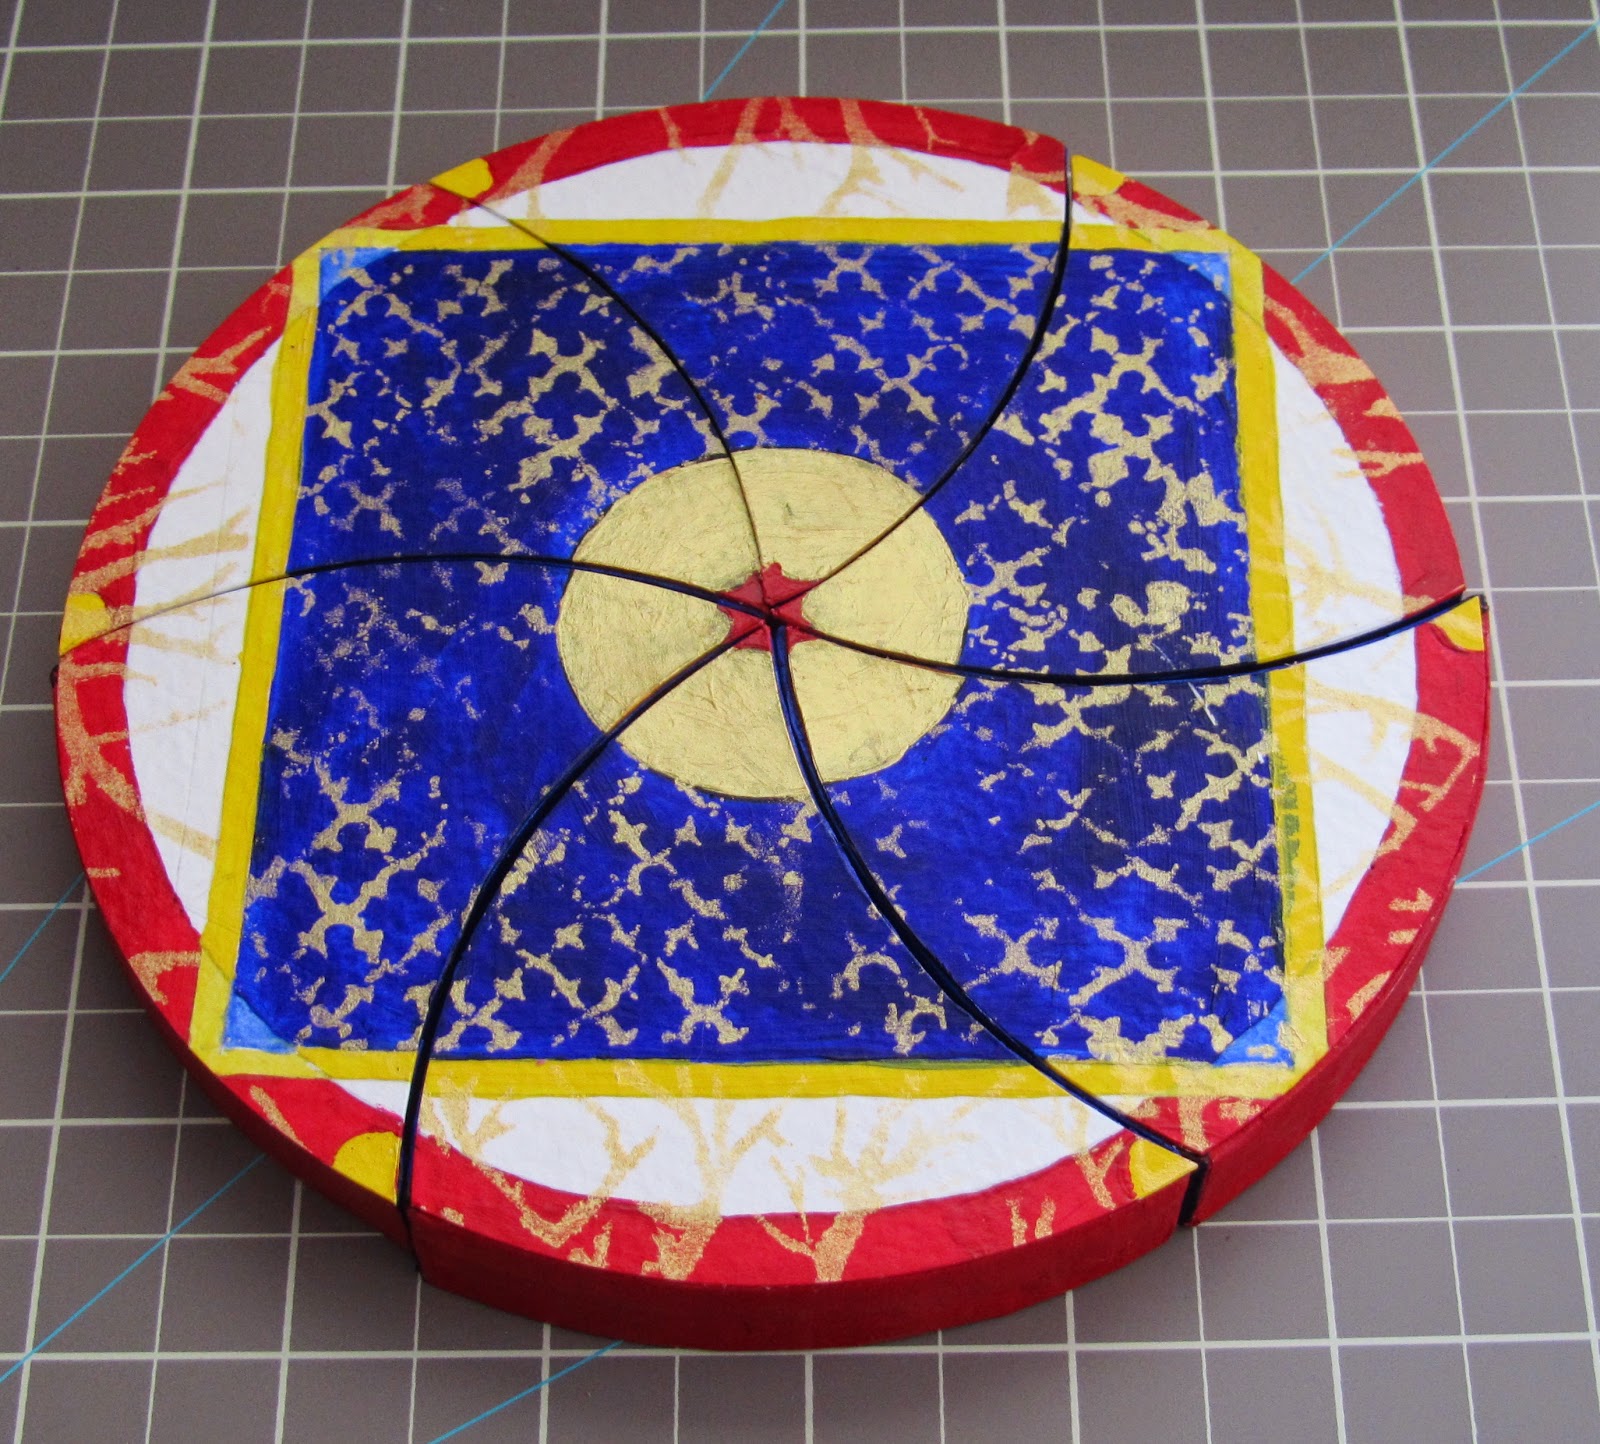
My favorite configuration for these segments is the one shown above. before I glued the cut paper wedges to the foam core I played around with their arrangement once the circle design was broken up. I was surprised that the design worked so well after being broken apart and reformed.
When I was satisfied with the look of the design, I glued the watercolor paper design onto the six segments being careful to align each piece with the edges of the foam core base.
Then I rearranged the segments into my favorite shape and turned the pieces over.
I decided to use a piece of Japanese paper (the same kind I used for the sides of each segment) with writing on it for the back. I laid a sheet of paper beneath this shape and traced each segment in pencil. Then I used a divider with pencil lead to trace a 1/8th inch indent. I cut out the paper and glued it down.
This is how the back looks when the piece is returned to its circle form. I still prefer the shape above, but this looks good too. What do you think?


